
Live numbers, tooltips and other badge settings
Mix any of these into a badge type or a recipe. Some need a paid plan, marked against each one.
Live numbers
Type a token into the badge text and Freshfront swaps in the real figure on your shop. It stays current as stock and prices change, with nothing to update by hand.
{inventory_count}is the stock left. Example: Only {inventory_count} left.{discount_percent}is the whole-number percentage off. Example: Save {discount_percent}%.{price}is the current price.{days_left}counts whole days to the badge’s end date, so it needs an end date set.
Type each token exactly, curly brackets included. Starter and Pro.
Hover tooltips
Add a line shoppers see when they hover over or tap the badge. It’s room for the detail a badge is too small to carry, like “Only a few left, order soon.” Tokens work here too. Starter and Pro.
Scheduling
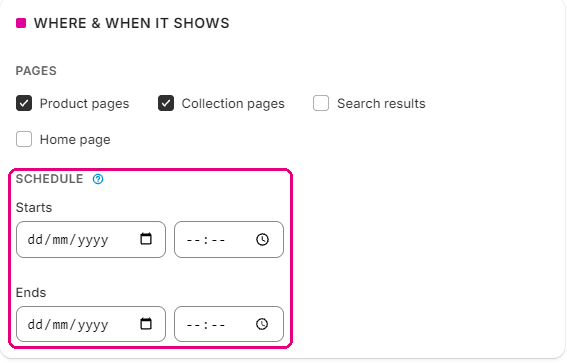
Give a badge a start date and an end date. It switches on when the window opens and off when it closes. Starter and Pro.
All or any
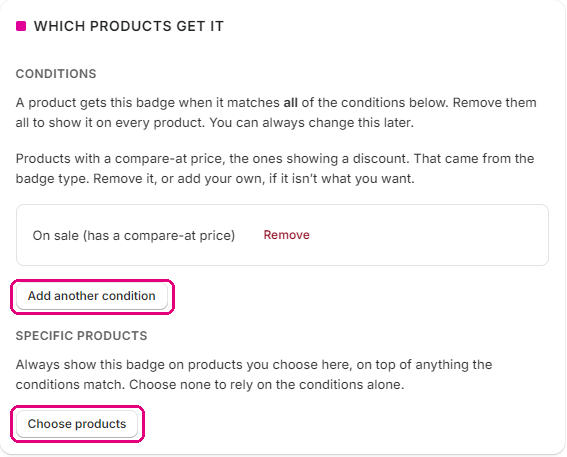
Stack conditions and choose how they combine. With All, a product has to match every condition, such as on sale and under £50. Any casts a wider net: tagged gift, or tagged bundle. The Free plan uses All. Starter and Pro add Any and every condition type.
Hand-picked products
Under Specific products, choose exact products yourself. Use it on its own or on top of a rule. To add a rule, select Add another condition in the same card.
The look
Show text, an image or an icon from the library. Pick the colours and shape, a small, medium or large size, and the corner it sits in.
When badges compete
Two badges can want the same spot. The one higher up your Badges list takes it, and you drag badges to reorder them.